ORTEX can take any Shelx file and create very nice rastered, photorealistic images. In this example, we will be using the example tio2.ins file that comes with the ORTEX distribution to create a Cell Pack, photorealistically rendered image.
|
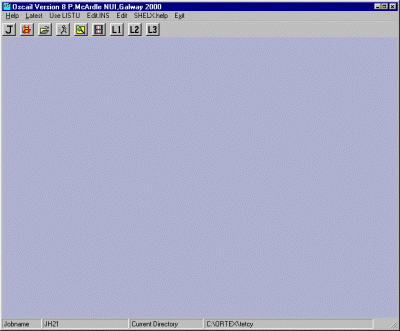
In the ORTEX directory, run Oscail to bring
up the following starting Window.
|
|
Click on the J (Job name) Icon and change the name of
the jobname to tio2. If not in the \ortex directory
where the Tio2.ins file is located, click on the change directory
icon and enter this directory.
|
|
Select the Run Job Icon which brings up the main control menu in
the ORTEX Suite.
|
|
Select ORTEX and press OK to bring up the ORTEX graphics. If queried,
select defaults
|
|
Select the Top Left Atom Mode Icon, then click on the Lattice Pack
Icon to bring up the following "Pac Con" menu.
Press OK or go for the custom settings.
|
|
Select the Top Left Start Stick Mode Icon, and then select Exit from
the top menu bar to get back to Oscail
|
|
Select the Run Job Icon and select the File for Render. As you
have done a cell pack, this will bring up the Use ORTEX Output as Input
prompt. Select Yes for this otherwise it will only use the asymmetic unit
atoms.
|
|
Select the options that appeal to you (Cell outline, atom type, image size, Shadows, etc)
|
|
Press OK and the image will be rendered as a TIF file (this may take a while
as it is computationally expensive). If you have setup
LVIEW or PaintShopPro correctly, this TIF file will be automatically displayed.
Otherwise, find the TIF file using Windows Explorer and open it in your
favourite image viewer.
If the image does not come out as expected, go back into Raster or ORTEX and modify until the desired results are obtained.
|